How to Set Up Proxies in AdsPower Complete Step-by-Step Guide

How to Set Up Proxies in AdsPower
AdsPower is one of the most widely used antidetect browsers for managing multiple accounts across advertising platforms, social networks and automation tools. It allows users to create separate browser profiles with unique fingerprints so each profile behaves like an independent device.
However, fingerprint isolation alone is not enough. Each profile should also run through a separate proxy IP address. Without proxies, multiple profiles would appear to originate from the same network, significantly increasing the risk of detection and account bans.
Using proxies with AdsPower allows you to assign a unique IP address to each browser profile, match geolocation with account location and safely run multiple accounts at scale.
In this guide you will learn how to add proxies in AdsPower, test the connection and verify that everything works correctly.
Why You Need Proxies for AdsPower
AdsPower isolates browser fingerprints, but IP address separation is just as important.
Most online platforms track IP addresses to detect suspicious behavior such as multiple accounts from the same network. If several profiles use the same IP, platforms may trigger additional verification checks or block accounts entirely.
Using proxies with AdsPower helps you:
- assign a unique IP address to each browser profile
- match proxy geolocation with the account region
- reduce the risk of account detection
- run multiple advertising or social media accounts safely
- scale automation workflows
For stable operation, it is recommended to use one proxy per profile.
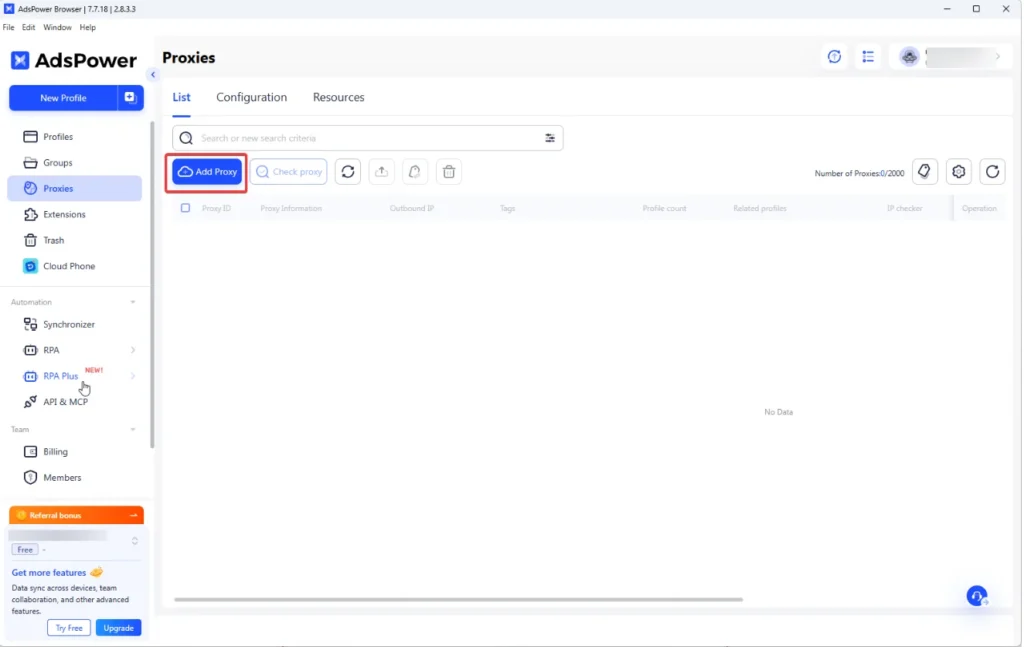
How to Add Proxies in AdsPower
Below is a step-by-step guide to adding and testing proxies inside AdsPower.
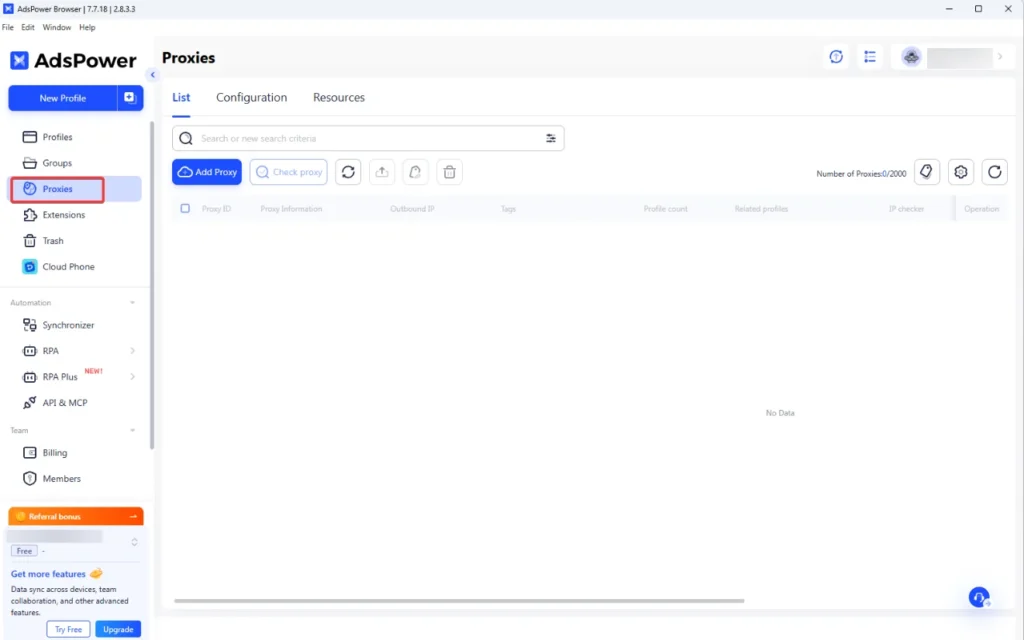
Step 1 – Open the Proxies Section
Launch AdsPower and navigate to the Proxies section in the left sidebar.
This area allows you to add, manage and test proxies that will later be assigned to browser profiles.
Step 2 – Add a New Proxy
Click the Add Proxy button to create a new proxy entry.
You will be asked to choose the proxy type and enter the proxy credentials.
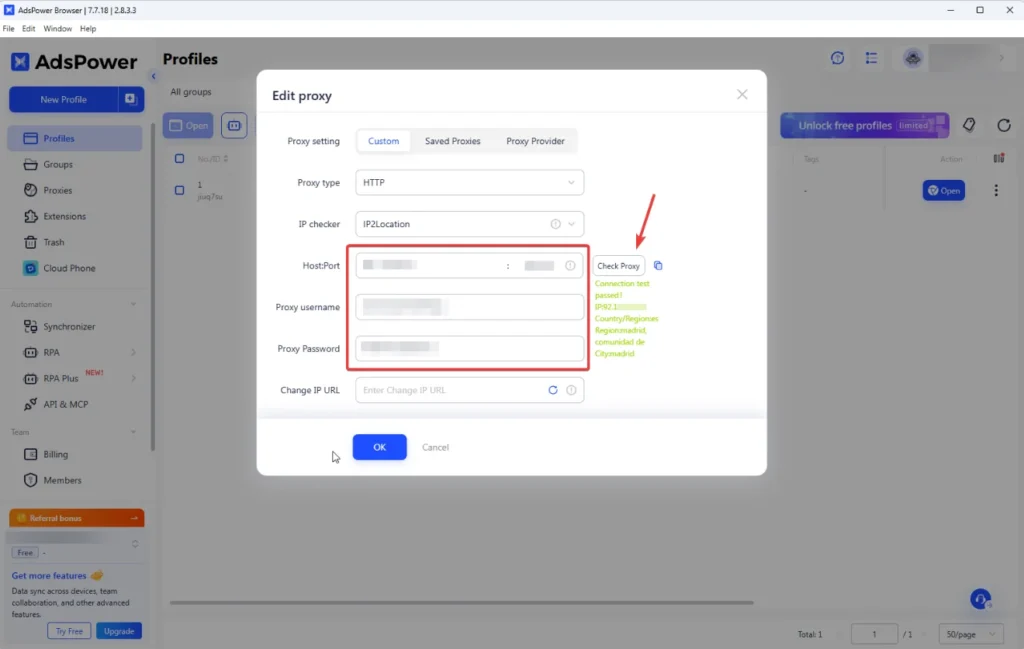
Step 3 – Enter Proxy Credentials
Enter the proxy connection details provided by your proxy provider.
Typical proxy format includes:
- Host
- Port
- Username
- Password
Make sure the proxy type matches the provider settings, usually HTTP or SOCKS5.
Step 4 – Test the Proxy Connection
After entering the proxy details, click Check Proxy.
If the configuration is correct, AdsPower will show a successful connection message.
If the test fails, verify:
- proxy format
- login credentials
- proxy type
- whether the proxy server is active
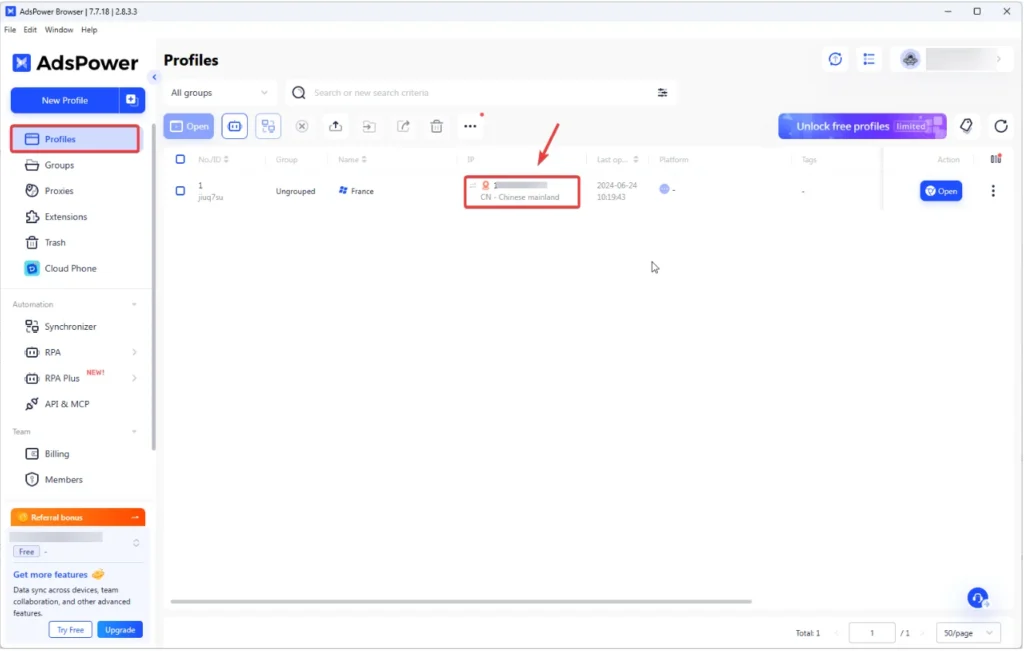
How to Assign a Proxy to a Browser Profile
After adding proxies, they can be assigned to browser profiles.
Navigate to the Profiles section and select the profile you want to configure.
Choose the proxy from the proxy list and save the profile settings.
When the profile launches, the browser will connect using the assigned proxy IP.

How to Verify Your Proxy IP
After launching the browser profile, you should verify that the proxy is working correctly.
Check that:
- the IP address is different from your real IP
- the location matches the proxy region
- the connection is stable
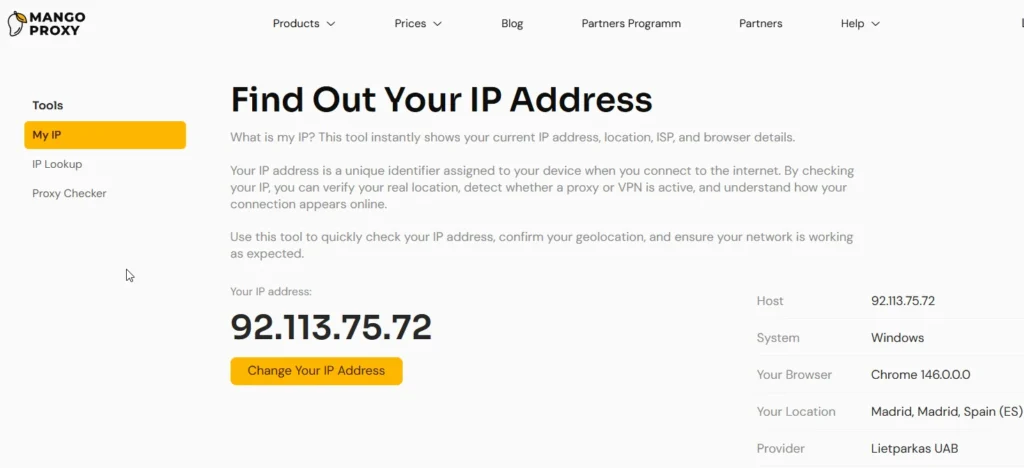
You can verify this using an IP check tool.
Internal link example:
What is my IP – check your current IP address and location.
Best Proxy Types for AdsPower
Different proxy types are suitable for different tasks.
| Proxy Type | Best Use Case |
| Residential proxies | advertising accounts |
| ISP proxies | long-term sessions |
| Mobile proxies | social media automation |
| Datacenter proxies | automation and scraping |
Residential and ISP proxies are usually the safest options for account-based workflows.
Best Use Cases for AdsPower Proxies
AdsPower is commonly used in several industries:
Affiliate marketing
Social media account management
Advertising campaign management
Web scraping
E-commerce account operations
In these environments each account should operate from a separate IP address to avoid platform detection systems.
Common Proxy Errors in AdsPower
Some common proxy configuration issues include:
Connection test failed
Incorrect proxy format
Proxy authentication error
Geo mismatch between account and proxy
Blocked or flagged IP
Most of these issues can be fixed by verifying proxy credentials or switching to higher quality proxies.
Tips for Stable Proxy Usage
To maintain stable sessions and reduce account bans, follow these best practices:
- use one proxy per browser profile
- match proxy location with account region
- avoid sharing proxies across multiple accounts
- test proxies before launching profiles
- use reliable proxy providers
Why High Quality Proxies Matter
AdsPower works at the browser fingerprint level, but IP reputation still plays a major role in account stability.
Low-quality proxies may have poor reputation, unstable connections or incorrect geolocation. This can lead to frequent verification requests or account bans.
High quality proxies provide:
- stable connections
- clean IP reputation
- accurate geolocation
- long-term sessions without interruptions
Reliable proxies significantly improve the safety and performance of multi-account environments.

Frequently asked questions
Here we answered the most frequently asked questions.
Can I use one proxy for multiple AdsPower profiles?
It is not recommended. Each profile should use a unique proxy IP to reduce the risk of detection.
Which proxy type works best for AdsPower?
Residential or ISP proxies are typically the safest choice for advertising accounts and multi-profile environments.
How do I know if my proxy works?
Use the Check Proxy button in AdsPower and verify the IP address after launching the profile.